How to Draw Waveform Diagrams
< Back to Latest Articles
Creating a WaveView to draw smooth waveforms
In this article I'yard going to walk y'all through building a WaveView with SwiftUI, allowing united states to create beautiful waveform-similar effects to bring your user interface to life.
Watch the video hither, or read the article below
Creating a wave effect is a unproblematic, beautiful event that tin really bring your UI to life. In its simplest class you might use it a a continuous activity indicator for when your app is working on a task but y'all don't know how long it will take, merely if you lot layer several of them in diverse colors and opacities and then you can create water-like effects and more.
Advance warning: there'll be a small amount of mathematics involved to calculate our waveform, but I'll break it down into simple steps.
To follow forth, please create a new iOS project for SwiftUI, using the Single View App template.
- Download the completed project for this tutorial here.
Quick links
- Creating a uncomplicated wave
- Animating the moving ridge
- Adding a parabolic curve
- Just for fun: multiple waves
- Challenges
Creating a elementary wave
To get started, we're going to create a Wave struct that conforms to the Shape protocol. This will have two Double properties: how high our waves should be, and how frequent our waves should be.
Then, start with this new SwiftUI view:
struct Wave: Shape { // how loftier our waves should be var strength: Double // how frequent our waves should exist var frequency: Double } To brainstorm with, we're going to create a simple, fixed sine moving ridge. The core of this calculation is fairly uncomplicated, and starts by dividing up our bachelor space based on the moving ridge frequency so that we know the size of our wavelength – how big each rise and autumn should be.
Once we take that, we count from 0 to the width of our full space and do the following:
- Discover our current position relative to the size of our wavelength.
- Put that through the
sin()part to go a value betwixt -i and 1. - Multiply that by the
forceproperty so our waves are made as big equally requested. - Center the indicate vertically.
- Add that point to a path.
All that needs to exist done in the path(in:) for our WaveView. Hither information technology is in Swift, with lots of comments added explaining each line:
func path(in rect: CGRect) -> Path { permit path = UIBezierPath() // calculate some important values up front end let width = Double(rect.width) let acme = Double(rect.height) let midWidth = width / ii let midHeight = superlative / 2 // split our total width up based on the frequency let wavelength = width / frequency // outset at the left eye path.move(to: CGPoint(x: 0, y: midHeight)) // at present count across private horizontal points one by 1 for ten in stride(from: 0, through: width, past: 1) { // find our current position relative to the wavelength permit relativeX = x / wavelength // calculate the sine of that position permit sine = sin(relativeX) // multiply that sine by our strength to determine terminal commencement, and then move it downwardly to the middle of our view let y = forcefulness * sine + midHeight // add a line to here path.addLine(to: CGPoint(x: 10, y: y)) } return Path(path.cgPath) } Note: You'll go a alert that midWidth isn't used. That's OK, because nosotros'll be using it later.
Like I said, we're going to improve on that soon, but first allow'due south use it in ContentView then you lot can meet it in action:
struct ContentView: View { var body: some View { ZStack { Wave(strength: 50, frequency: 30) .stroke(Color.white, lineWidth: 5) } .background(Color.bluish) .edgesIgnoringSafeArea(.all) } } Unproblematic, but prissy!
Tip: We're using stride(from: 0, through: width, past: one) to add one point to our Bezier path for every 10 position in our width, only if y'all constitute that was slow you could do every tenth point like this:
stride(from: 0, through: width + 10, past: x) If y'all look closely y'all'll find the line isn't quite and then smooth any more – endeavor even higher values to encounter the line go increasingly jagged. Adding to width stops the line catastrophe before it reaches the terminate.
Animative the wave
Our WaveView has properties to control its force (or amplitude) and its frequency, but we can add a 3rd to control its phase – a horizontal offset that lets us motility the line either by paw or using animation.
Offset by adding this belongings to WaveView:
// how much to offset our waves horizontally var phase: Double Now we can gene that into our call to sin() then that our position in the wave changes depending on phase:
permit sine = sin(relativeX + phase) Make sure and modify the way nosotros create WaveView in ContentView, to send in a phase value:
Wave(strength: 50, frequency: 30, phase: 0) You can now endeavor changing phase: 0 to a different value – effort 10, 101, or whatever you want, and you should see the wave move along.
It'due south good to take this control, merely information technology's even better to make it animate – to have our waveform movement smooth beyond the screen. This takes a trivial work in SwiftUI, because we need to tell information technology what our blitheness really does.
Commencement, we need to define some state in ContentView that will shop the current wave stage:
@Country private var phase = 0.0 Second, nosotros tin can pass that into the WaveView initializer, so we tin can control the phase over fourth dimension:
Wave(forcefulness: 50, frequency: 30, stage: stage) And third, nosotros can ask SwiftUI to animate phase to Double.pi * 2 when the ZStack is shown, by putting this modifier after edgesIgnoringSafeArea():
.onAppear { withAnimation(Blitheness.linear(duration: 1).repeatForever(autoreverses: faux)) { self.phase = .pi * 2 } } Tip: Using .pi * 2 here ensures our sine moving ridge covers the full range of 0 to 1 then back to 0, so our blitheness loops flawlessly.
All that lawmaking is correct, and all that code is needed, but information technology won't actually exercise annihilation – if you run the app you lot'll see the waveform is even so static.
The trouble here is that SwiftUI doesn't understand how to animate a waveform – it doesn't know what that really means. It does know how to animate numbers, which means it can count from i through ten for us over a menstruum of fourth dimension, so our task is to assist it span that noesis and then it tin can animate our waveform.
Yes, nosotros're using withAnimation() to make our modify, but that doesn't do quite what you lot might retrieve. Behind the scenes, SwiftUI volition automatically update the stage property in ContentView to its new value, but then it volition start interpolating from the one-time phase to the new phase and ask our waveform what nosotros want to do with information technology.
We can update WaveView to receive that information by adding a new belongings called animatableData, which should be the aforementioned blazon as whatever we're irresolute. This is computed: in the getter we'll just transport back phase, but in the setter we'll ready phase to exist whatever is the new value that was passed in.
Add this belongings to WaveView now:
// let SwiftUI to animate the wave stage var animatableData: Double { get { phase } set { self.stage = newValue } } And now our blitheness volition work – all the residuum of information technology was fine, but now our WaveView is receiving the animation data from SwiftUI.
Calculation a parabolic curve
The waveform looks okay, but we can do so much better with just a little mathematics by implementing a parabola, which is a curve that is U-shaped. This will make our waveform centered vertically on the left and right edges, but actually wavy in the center – a fleck similar how Siri's waves look.
I've made the calculations here as simple every bit possible, and I think you'll agree the result looks significantly better – even if you're not fond of math I hope you'll give it a try!
Rather than dump the entire calculation on y'all at once, let'south build it up bit by fleck.
Inside path(in:) nosotros already have constants for width, height, midWidth, and midHeight. We need to add i more at that place, which volition rails i divided by midWidth.
Remember our loop counts over the width of the available infinite, adding to the Bezier path bespeak past point. To make a parabola – a U-shape curve, we demand to know how far nosotros are to the horizontal mid-indicate, and that'south where our new property comes in.
Kickoff, add this below the previous 4:
permit oneOverMidWidth = ane / midWidth Now inside our loop we can summate how far we currently are from the middle of our width, and multiply that past oneOverMidWidth. This will tell us how far nosotros are from the horizontal center of our infinite, measured in the range -1 to 1.
Add together this below let relativeX:
// notice how far we are from the horizontal center allow distanceFromMidWidth = x - midWidth // bring that into the range of -1 to i allow normalDistance = oneOverMidWidth * distanceFromMidWidth Tip: I've used the proper name normalDistance there because bringing all possible values into the range of -1 to 1 is chosen normalization.
Next, I want to factor that value into our cartoon. We're going to start off with something simple so you lot can sympathise what's happening more conspicuously.
Correct now we calculate our Y position like this:
let y = force * sine + midHeight We need to add another number to that to make our parabolic curve – our U-shaped bend.
To first with, we're just going to apply the normalDistance value we calculated a moment ago, without modifying it at all. So, make this constant after normalDistance:
allow parabola = normalDistance We're going to make that more than interesting in a moment, but it'southward fine for now.
Nosotros tin then gene that into our Y calculation like this:
let y = parabola * strength * sine + midHeight I encourage y'all to run the app at present so yous can understand the next part more clearly. Our previous code generating a smooth, regular sine wave, only now our wave superlative changes: it's big on the left and right edges, and pocket-sized in the eye.
You're seeing our parabola in activity – the U shape it generates is being practical so our wave meridian.
If yous want to understand why this happens, launch the Grapher program that comes with macOS. (Yep, y'all have it installed – every Mac has information technology installed, information technology'southward merely that most people don't know it's there.) When information technology launches, select the default 2D graph.
If you want to meet a parabolic curve in activity, type this: y=2x^2. The "y=" part should be there already, and typing the ^ function allows us to make the squared symbol. When you press render, Grapher will draw the bend and yous'll come across what I mean most a U shape – the curve is shallow in the heart, merely is increasingly steep on the left and right edges.
Then, those values are being multiplied into our moving ridge height. normalDistance is a value between -1 and ane, and so on the left edge we multiple the wave superlative past -1 and on the correct border by 1, just in the dead centre we multiply by 0 so at that place's no height at all.
Hither, though, I want the opposite effect: I want large waves in the heart and nothing on the edges. To do that, we demand to calculate our parabola equally follows:
allow parabola = -(normalDistance * normalDistance) + ane Allow's break that down. First, normalDistance is a value in the range -one to 1, then if nosotros multiply that past itself we'll up with a range with 1 on both sides with 0 in the middle.
For instance:
- If
normalDistancewere -ane, then we'd be doing -1 x -1, which is i. - If
normalDistancewere 1, so nosotros'd exist doing 1 10 1, which is besides 1. - But for smaller values, such every bit 0, we'd be doing 0 x 0, which is 0.
Then, at present nosotros take a values in the range 1...0...1, which is our U shape. Next we negate that using -(normalDistance * normalDistance), which means we now have values in the range -1...0...-one. And finally, we add 1 to it, to make values in the range of 0...one...0 – big waves in the middle, and no waves on the edges.
And that's it! Run the app again to run into our finished upshot – I think it looks a lot more dynamic than the unproblematic sine wave, and as you've seen we can modify our curve in all sorts of interesting means.
But for fun: multiple waves
We've created one moving ridge, but nosotros can employ a ZStack to layer multiple offset waves if we want, applying a petty transparency to the stroke to create a fading effect.
Effort this and see what you think:
ForEach(0..<x) { i in Moving ridge(strength: 50, frequency: 10, phase: self.phase) .stroke(Color.white.opacity(Double(i) / x), lineWidth: 5) .offset(y: CGFloat(i) * 10) } Find that I've taken the frequency down to 10, which I retrieve looks better.
Run the app and come across what you think – we're done!
Challenges
At that place is and so much scope to expand this projection, even if only by experimenting with the diverse values we take bachelor to us.
Also every bit experimenting, there are ii things in item I'd like you to try:
- Remove the commencement from our overlapping waves so they directly overlap, then try irresolute their stage and color to see if yous tin can get a variety of overlapping waves at different states.
- Apply a mask to the
ForEachand then that the center area is fully opaque only the left and right edges fade abroad to be invisible.
You can attain the first one with experimentation, but if you're stuck on the second one try using a mask() modifier with a LinearGradient that uses clear/white/clear colors. I'll mail service some example code below in case you lot get stuck, but I do recommend you try information technology yourself offset!
However here?
I'm going to assume that means you want to come across a solution for the second challenge.
I'g just writing this so you lot tin can't run into my code by accident.
Seriously, this is your last gamble before my code.
Okay, here we go:
ForEach(0..<10) { i in Wave(strength: 50, frequency: 10, phase: cocky.phase) .stroke(Color.white.opacity(Double(i) / 10), lineWidth: 5) .offset(y: CGFloat(i) * x) } .mask( LinearGradient(gradient: Gradient(colors: [.clear, .white, .articulate]), startPoint: .leading, endPoint: .trailing) ) If yous liked this, yous'd love Hacking with Swift+…
Hither'south just a sample of the other tutorials, with each one coming as an article to read and as a 4K Ultra HD video.
Find out more and subscribe here
14:26
NETWORKING
Costless: User-friendly network access
Anyone tin write Swift code to fetch network data, just much harder is knowing how to write code to do it respectfully. In this article we'll look at building a considerate network stack, taking into account the user's connection, preferences, and more than.

31:55
Information STRUCTURES
Free: Trees
Trees are an extraordinarily simple, extraordinarily useful data blazon, and in this article nosotros'll make a complete tree data type using Swift in just a few minutes. But rather than just stop there, we're going to practise something quite beautiful that I promise will blow your mind while instruction you something useful.

6:52
FUNCTIONAL PROGRAMMING
FREE: Functional programming in Swift: Introduction
Earlier yous dive in to the first article in this course, I want to give you a brief overview of our goals, how the content is structured, equally well as a rough idea of what you can look to find.
42:32
FUNCTIONAL PROGRAMMING
Complimentary: Transforming data with map()
In this article nosotros're going to wait at the map() function, which transforms ane thing into another affair. Along the way we'll also exist exploring some core concepts of functional programming, and so if you read no other articles in this class at least read this one!
14:17
ULTIMATE PORTFOLIO APP
FREE: Ultimate Portfolio App: Introduction
While I'k certain you're keen to go started programming immediately, please give me a few minutes to outline the goals of this form and explicate why it's unlike from other courses I've written.
36:18
24:11
ADVANCED SWIFT
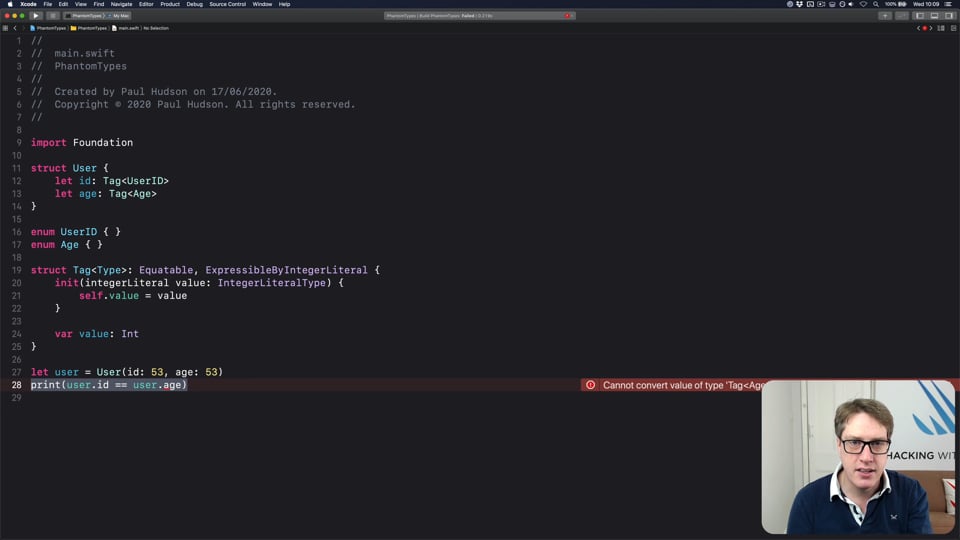
FREE: How to use phantom types in Swift
Phantom types are a powerful way to give the Swift compiler actress information nigh our lawmaking so that it can stop us from making mistakes. In this commodity I'yard going to explicate how they piece of work and why you lot'd want them, every bit well as providing lots of hands-on examples you can try.
twenty:01
INTERMEDIATE SWIFT
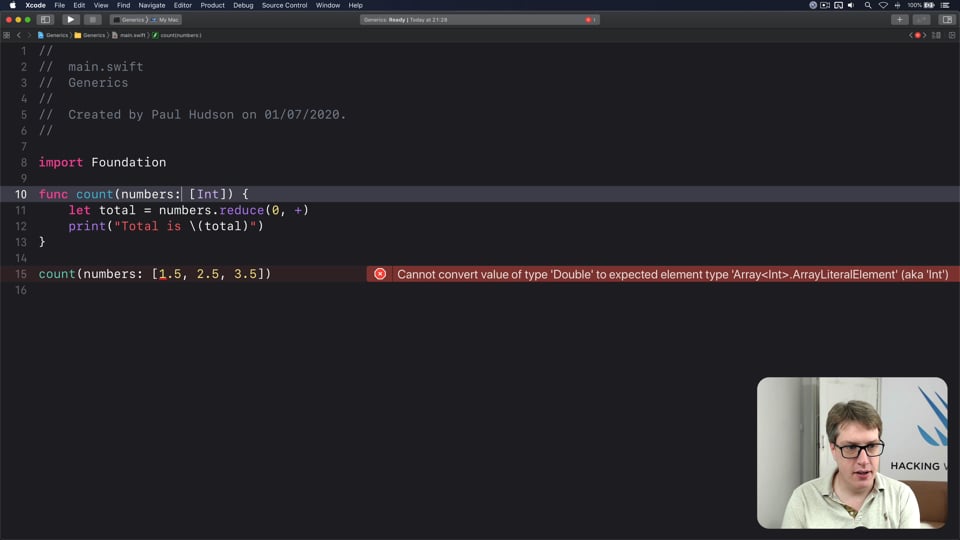
Complimentary: Agreement generics – part 1
Generics are ane of the most powerful features of Swift, allowing us to write code once and reuse it in many ways. In this article nosotros'll explore how they piece of work, why adding constraints really helps us write more than code, and how generics aid solve 1 of the biggest problems in Swift.
14:twenty
INTERMEDIATE SWIFTUI
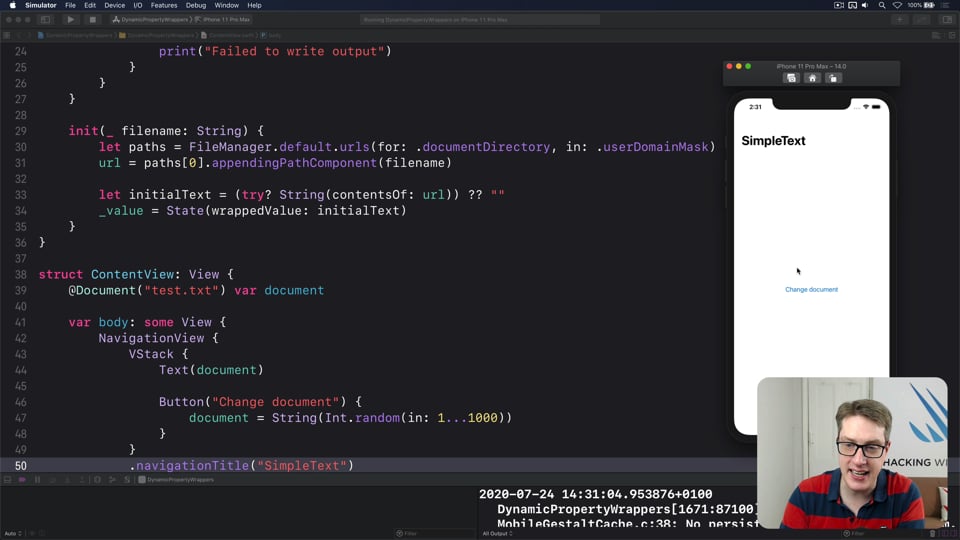
Costless: Creating a custom belongings wrapper using DynamicProperty
Information technology's not hard to make a basic property wrapper, only if you desire i that automatically updates the body property like @State you need to exercise some extra work. In this article I'll show you exactly how information technology's done, as nosotros build a property wrapper capable of reading and writing documents from our app'southward container.
38:12
SOLUTIONS
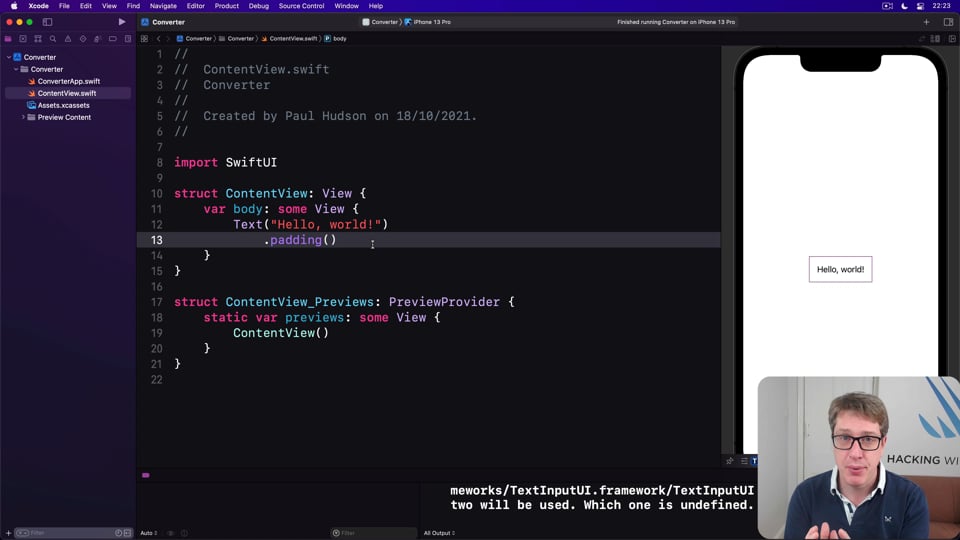
Costless: Challenge 1: Converter
This early challenge solar day asks you to build a converter app that's able to move between whatsoever 2 similar units, such as kilometers and miles. Let's solve it now, and then we'll take it farther, and then we'll take information technology even further…

33:12
ULTIMATE PORTFOLIO APP
FREE: Making your app accessible
It is my firm belief that every iOS app should be usable to everyone, and putting in the work to brand your app role well no affair who is using it says a lot about the kind of programmer yous are.
23:07
Advanced SWIFT
Costless: Making the about of optionals
Swift'southward optionals are implemented every bit simple enums, with only a lilliputian compiler magic sprinkled around as syntactic sugar. However, they do much more than people realize, and in this commodity I'chiliad going to demonstrate some of their power features that can really help you lot write better code – and blow your listen along the way.
27:33
INTERMEDIATE SWIFT
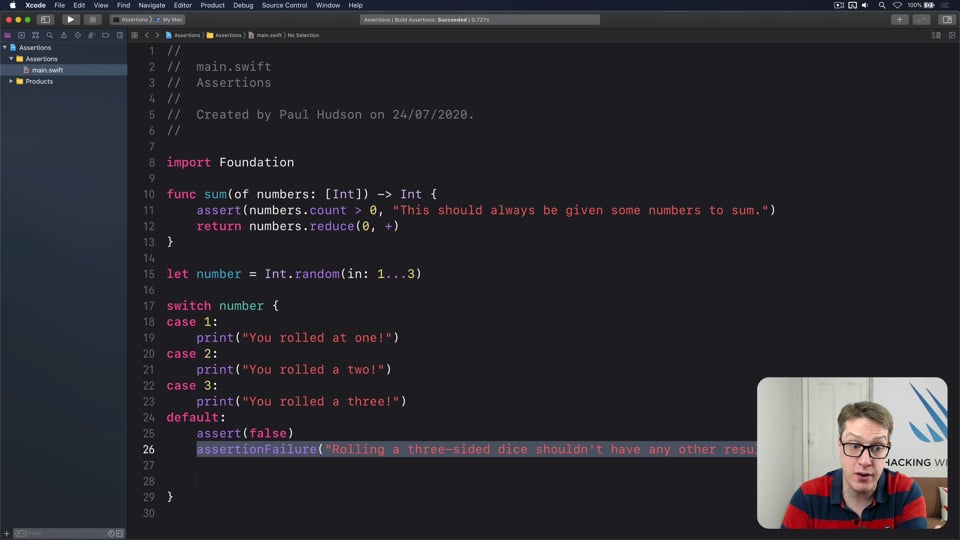
Gratuitous: Agreement assertions
Assertions permit the states to have Swift silently check the state of our plan at runtime, but if you want to get them right y'all need to understand some intricacies. In this article I'll walk you through the five ways nosotros tin make assertions in Swift, and provide clear communication on which to utilize and when.
19:50
SWIFTUI SPECIAL EFFECTS
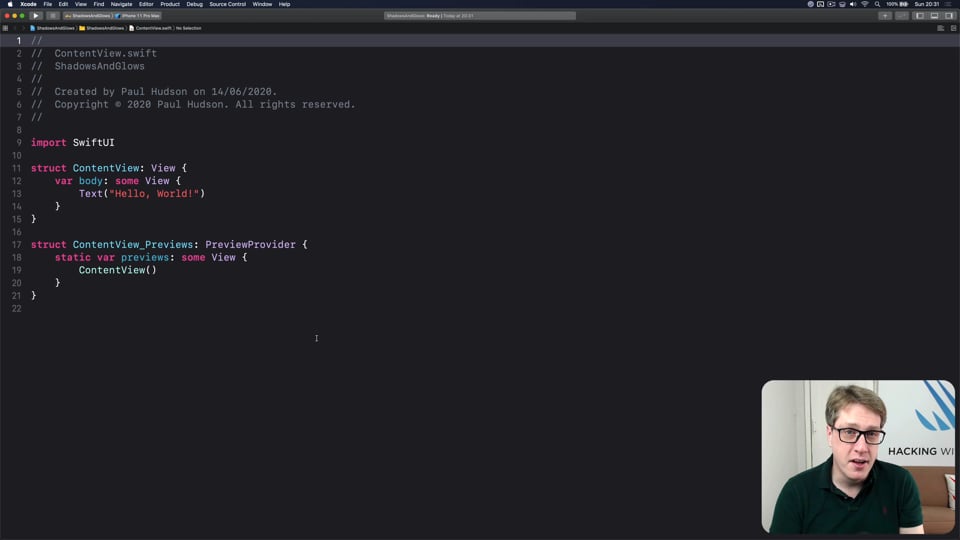
FREE: Shadows and glows
SwiftUI gives united states of america a modifier to brand simple shadows, but if you desire something more advanced such as inner shadows or glows, you need to do extra work. In this commodity I'll bear witness you lot how to get both those effects and more in a customizable, flexible fashion.
ane:21:46
HACKING WITH SWIFT LIVE 2020
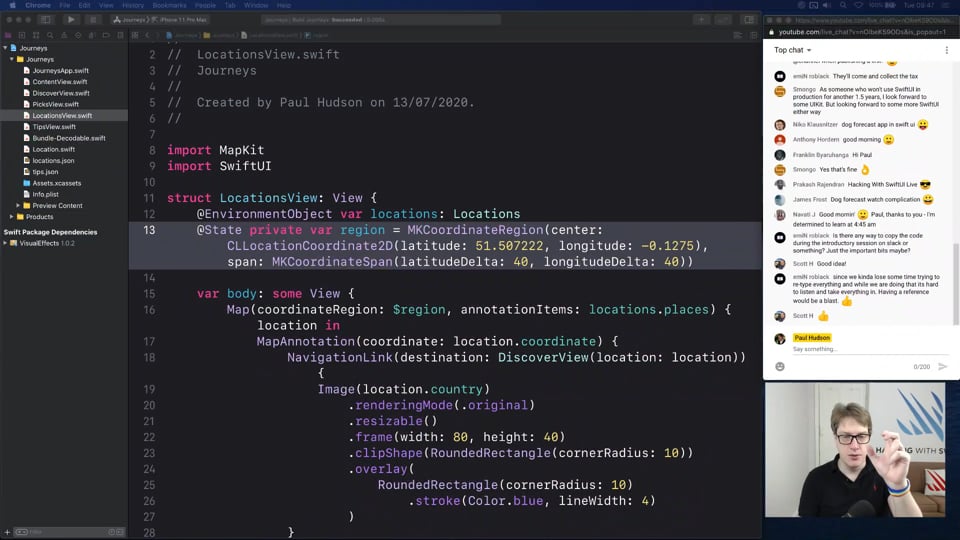
Expanding lists and iPad sidebars
In this part we'll exist looking at upgrades to SwiftUI's Listing view that let us expand and plummet rows, then effort out the iPadOS sidebar fashion.
19:31
ULTIMATE PORTFOLIO APP
Adding haptics
In this article I'g going to walk you through calculation haptics to your app, to make it experience a little more than live in the user'due south hand.
i:23:29
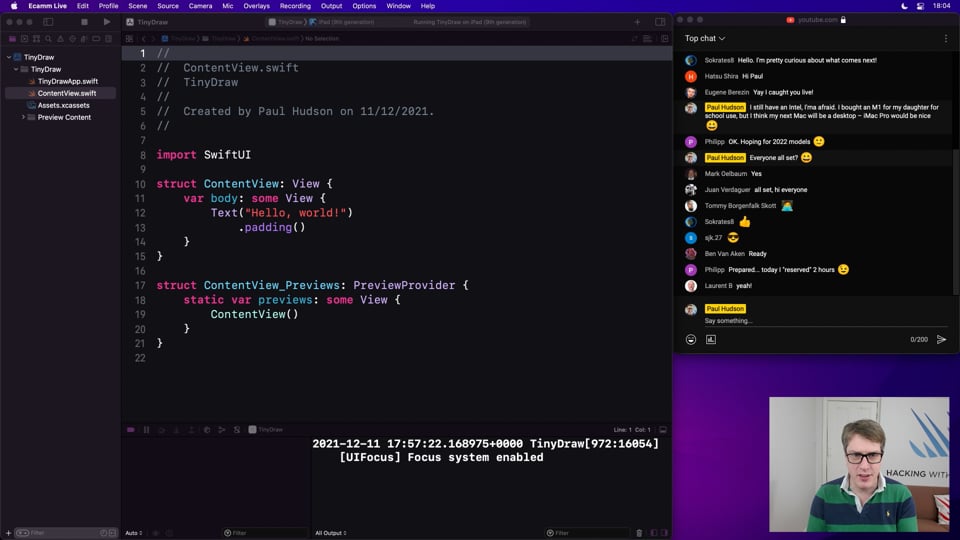
Alive STREAMS
TinyDraw
In this article we're going to build a pocket-size drawing app for iPad, just along the mode you'll see how to load and salvage documents into iCloud, add back up for undo, and more.

1:12:42
HACKING WITH SWIFT LIVE 2020
What's new in Swift?
In this introduction we become through the core language improvements in Swift five.3, including multiple trailing closures, type-based programme entry points, and more than, before moving on to the starting time new SwiftUI characteristic: lazy stacks.
31:57
ULTIMATE PORTFOLIO APP
Upgrading iCloud
Nosotros're nearly to practise a fair clamper of work integrating CloudKit, Sign in with Apple tree, and Apple Pay into our app, but the first step to success is to make a scattering of small changes to our app to ensure information technology will all work well, and too prepare a few long-standing bugs.
34:39
ULTIMATE PORTFOLIO APP
Querying data from iCloud
In the previous step we added the ability to upload projects and items to iCloud, then used the iCloud Dashboard to cheque the information had arrived safely. In this step we're going to load shared projects, and let users scan them.
Source: https://www.hackingwithswift.com/plus/custom-swiftui-components/creating-a-waveview-to-draw-smooth-waveforms
0 Response to "How to Draw Waveform Diagrams"
Post a Comment